Alioli ROV Submarine Drone Software Framework for Arduino
In this post, I describe how my own Arduino Framework for Alioli ROV Submarine Drone works. In my last post about Alioli ROV Submarine Drone, I wrote, “Learn how to Build an...
Filter by Category
Filter by Author

In this post, I describe how my own Arduino Framework for Alioli ROV Submarine Drone works. In my last post about Alioli ROV Submarine Drone, I wrote, “Learn how to Build an...
Posted by Juanmi Taboada
Here is how to make a SIMCOM 7600 module work on an Arduino board (Uno, Mega 2560, Leonardo, Due, Micro, Zero, Nano, Pico), ESP8266, ESP32, Raspberry Pi Pico, MicroPython, or any...
Posted by Juanmi Taboada

In this post, I describe how my own Arduino Framework for Alioli ROV Submarine Drone works.
In my last post about Alioli ROV Submarine Drone, I wrote, “Learn how to Build an Engine Controller for your Alioli Submarine UAV Drone“, Recently I completed the hardware for Alioli ROV Submarine Drone.
Don’t get me wrong, I am a person that loves to get involved in OpenSource software, so I had a look around about the state of arts in this particular area, and I found Ardusub. I seemed to be a good choice, a predesigned board to manage my submarine. However, what took me away from Ardusub was precisely the requirements of “Autopilot” better known as “Pixhawk” which is a commercial company manufactured for not less than 150€, and I would be risking it may not provide all the features I need: water analysis and buoyancy control system.
I decided not to use Ardusub, and it was a great decision. I wanted to learn and face all the problems that this project had for me. Also, starting from scratch was the best way to learn, and so far, I have learned a lot about physics and electronics. I got the pleasure of getting hands-on with circuits and components. I have had the chance to decide on the next step each time.
I am an advanced developer with a long track in C and C++ programming (and several other languages), so not sticking with anybody’s software development patterns and standards has been an open road during the development and tests. Now I can jump from an Arduino board to ESP32 and Raspberry Pi Pico with zero effort, so I feel I am on the right path.
At the beginning of this project (winter 2018), I didn’t know much about Arduino, ESP32, Raspberry Pi, or MicroPython…in fact, I didn’t know much about electronics or microcontrollers, nor about programming them or existing modules. However, I still remember a bit of theory while studying Engineering Computer Science at the University of Málaga.
So I decided to buy an Arduino Starter Kit and start learning. Since Arduino is C, all the developments I made in this area are C and C++. I have extensive knowledge of C programming, so I already feel comfortable with it to develop whatever comes to my mind.
In the first stage, I walked through all examples and modules I planned to use in Alioli UAV Submarine Dron. After that, I learned, designed, and improved methodologies for building what I expected to create later.
But I wasn’t feeling comfortable enough with Arduino IDE, so I moved to Vim (my usual IDE) and made it to check and highlight syntax for my Arduino Code.
In the beginning, I used a Makefile to compile, upload and monitor the execution of my programs. Later, I discovered PlatformIO, a game changer, and everything came far easier.
The most challenging part that took me long to find out is that Arduino’s print doesn’t print float as you would typically expect, but it doesn’t fail either. The reason to be programmed that way was that the final software would use too much memory to link unnecessary libraries to show float numbers on print. So Arduino core developers decided to keep float representation away to keep the software thin.
If you need to print out some float, you have to print it as a string using the function dtostrf(FLOAT, WIDTH, PRECISION, TEMPSTRING), for example:
float temperature = 3.14;
char tstr[20] = "";
Serial.print("Tº: "; Serial.print(temperature);     // ---> Shows "Tº: 3.14"
printf("Tº: %d", temperature);                      // ---> Shows "Tº: 3"
printf("Tº: %f", temperature);                      // ---> Shows "Tº: ?"
printf("Tº: %8.4f", temperature);                   // ---> Shows "Tº: ?"
printf("Tº: %s", dtostrf(temperature, 8, 4, tstr)); // ---> Shows "Tº: 3.14"
Based on my experience, I decided to make my first improvement to the framework with a new library I named Alioli, which included my beloved print_debug() function that takes care of everything when printing to the screen, including colours and headers. It works out of the box with RTC or without it, so it shows up millis() or a date time on each printed line, depending on whether the RTC module is enabled.
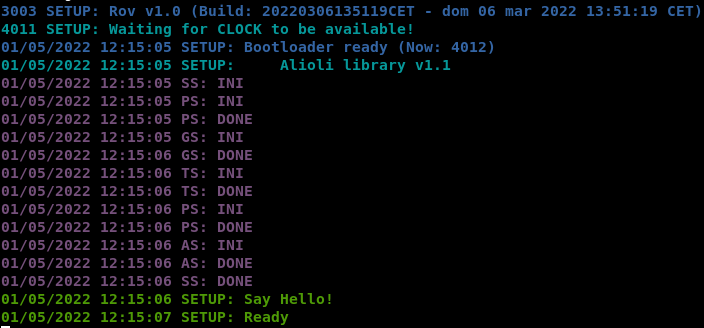
The first thing to do is to get the source code on our computer from Alioli Github:
git clone https://github.com/juanmitaboada/alioli
The latest versions are working with PlatformIO. If you want to compile and upload a test, you should visit the folder “testio/“, which has a tiny program you can put on your hardware and test how PlatformIO performs. In that folder, there is a file named “cmds.txt” with examples:
# Compile only for MEGA 2560
pio run -e megaatmega2560

# Compile and upload to MEGA 2560
pio run -e megaatmega2560 -t upload

# Compile only for Raspberry Pi Pico
pio run -e pico

# Compile and upload to Raspberry Pi Pico
pio run -e pico -t upload
There are several folders in Alioli:

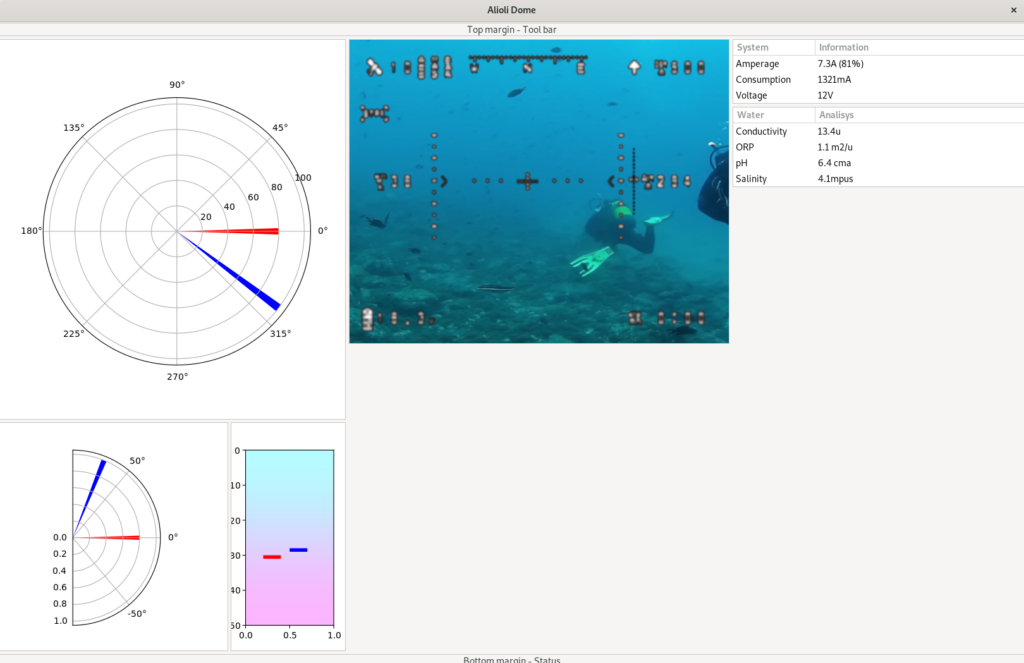
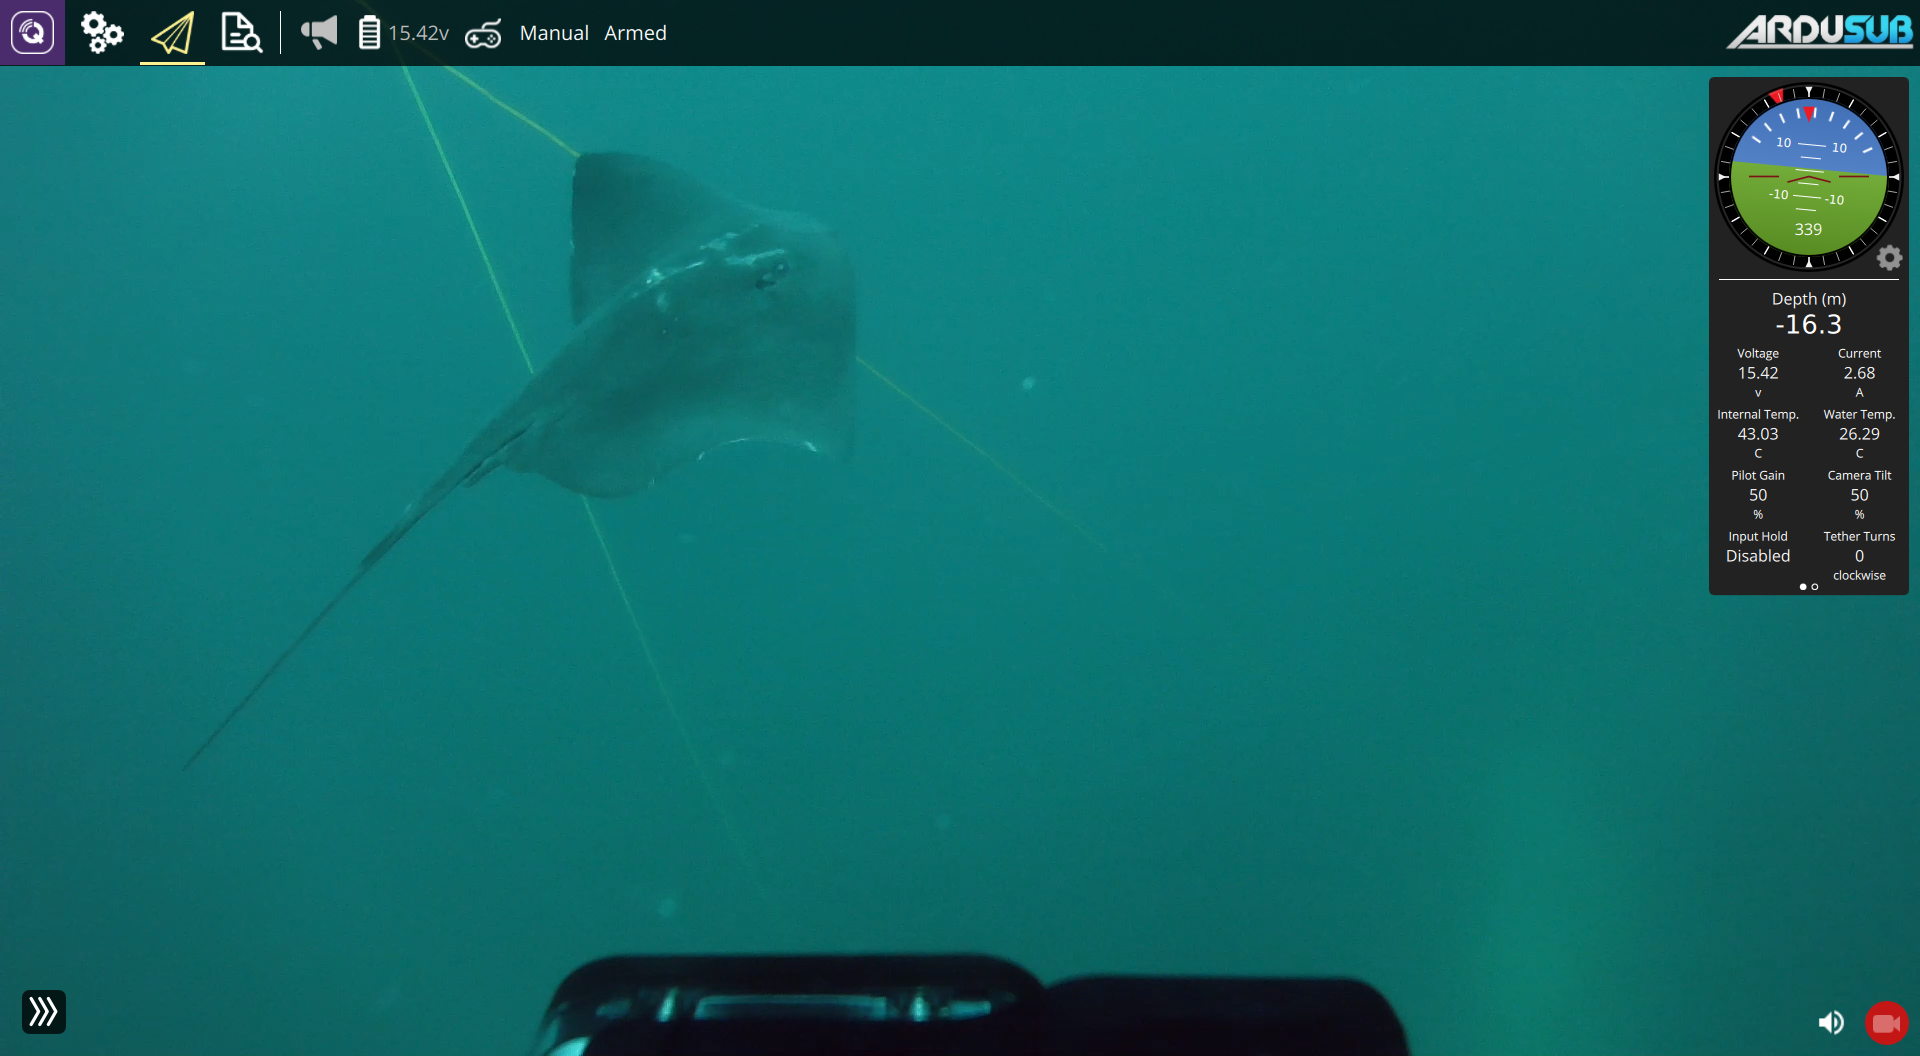
After learning the Mavlink Protocol, Alioli connected to the Internet using GPRS and linked to a central server to allow direct communication from QGroundControl. Next are examples of what QGroundControl looks like (the reason why Alioli Dome has been deprecated):
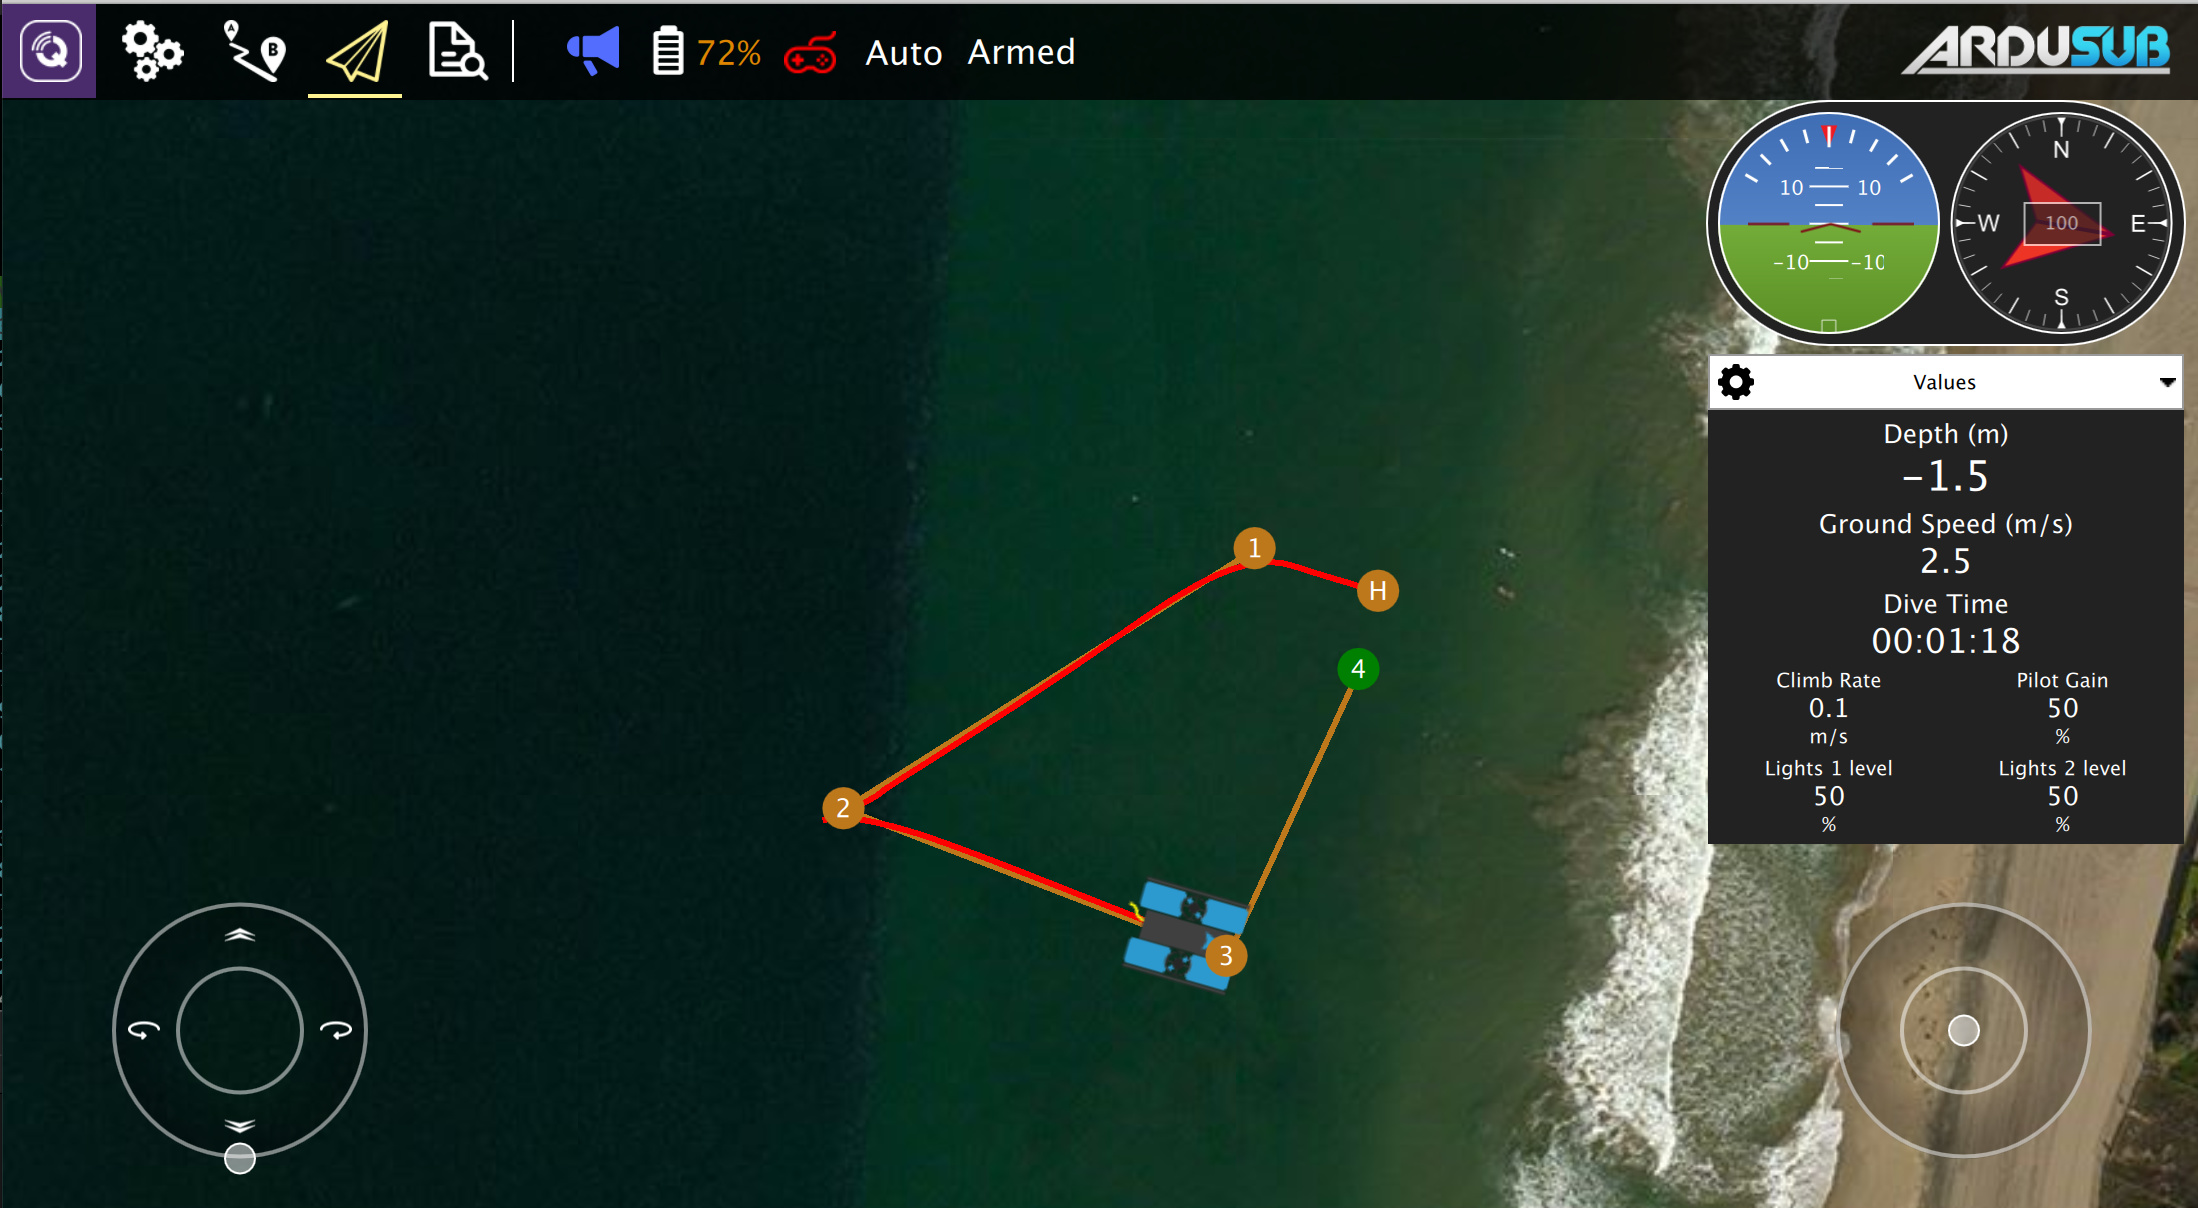
The following diagram explains what Alioli‘s entire system looks like:
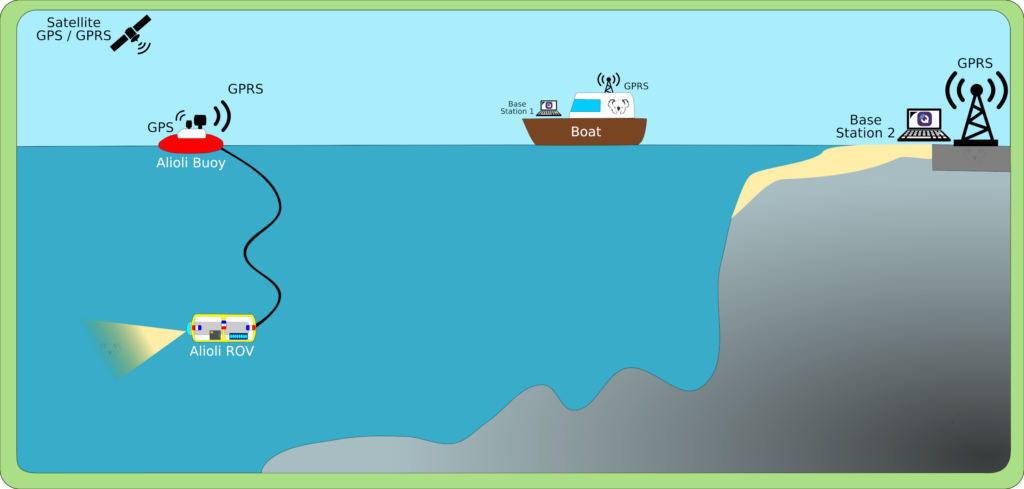
The software must well orchestrate the system to reduce points of failure. In this architecture, the central system is the Alioli Buoy.
When Alioli ROV starts, it performs all the setup actions and waits for Alioli Buoy to send its messages. Alioli ROV will work as a microservice answering any request Alioli Buoy has. Some of these queries may be requests for Telemetry others may be to move or change path direction.
When Alioli Buoy starts, it recognizes Alioli ROV and ensures it is ready to work. Alioli Buoy will also connect to the Internet through GPRS and register on the central server.
The central server handles Alioli Remote Connections. When some Alioli Buoy registers, the central server provides a forwarded port to its dynamic IP address, making it possible to connect QGroundControl to the central server. The central server will redirect all the traffic between those 2 (Alioli Buoy and QGroundControl).
The final step is to start and connect QGroundControl to the central server IP address and port. After that, QGroundControl will do the rest of the job with the user interface, PlayStation controller, camera, GPS, maps, telemetry, and other essential details required for navigation.
The ROV and Buoy software is built on modules. All modules together work in collaboration, executing the expected actions from the pilot. Each module has 2 main functions setup() and loop().
The setup() function is responsible for the initialization of the module. It will prepare all required variables and set up the system and electronics modules it manages.
The loop() function is responsible for executing the scheduled tasks for the rest of the time, and it will be called very often to give the module a chance to complete its actions. Depending on each module, they will read and save data into the main structures and communicate with the electronic components to get them to do their job.
In the same way that the main program calls to setup() and loop() from each module, each module as well will call to setup() or loop() functions from other internal modules. For example, the Sensor Module will set up the Temperature Module, Gyroscope Module, and other Sensor-based Modules.
Typically the modules control how they do their tasks based on the system’s clock, so every n-seconds, they will perform the routine tasks. As a result, modules will not interrupt the main loop when not in action.
You can find the source code at /rov/src:
You can find the source code at /buoy/src:
I am working on the communication between QGroundControl <-> Alioli Buoy <-> Alioli Rov.
The ROADMAP is:
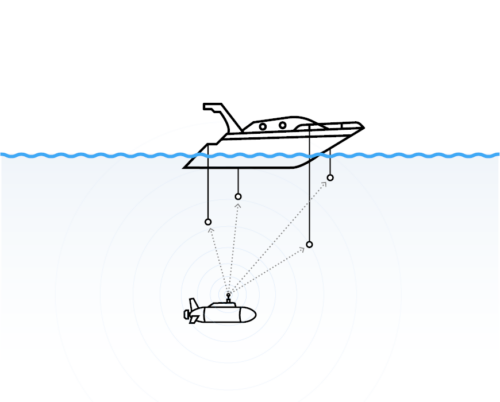
During our operations, very often, we use a Waterlinked Underwater GPS. This helps us to keep track in 3D of our movements and link video recording’s timing and telemetry to...

In my last post, “Get your hardware for Arduino Underwater ROV”, I described most of the hardware I use to build Alioli ROV and how I plan to use it. In this post, I...